

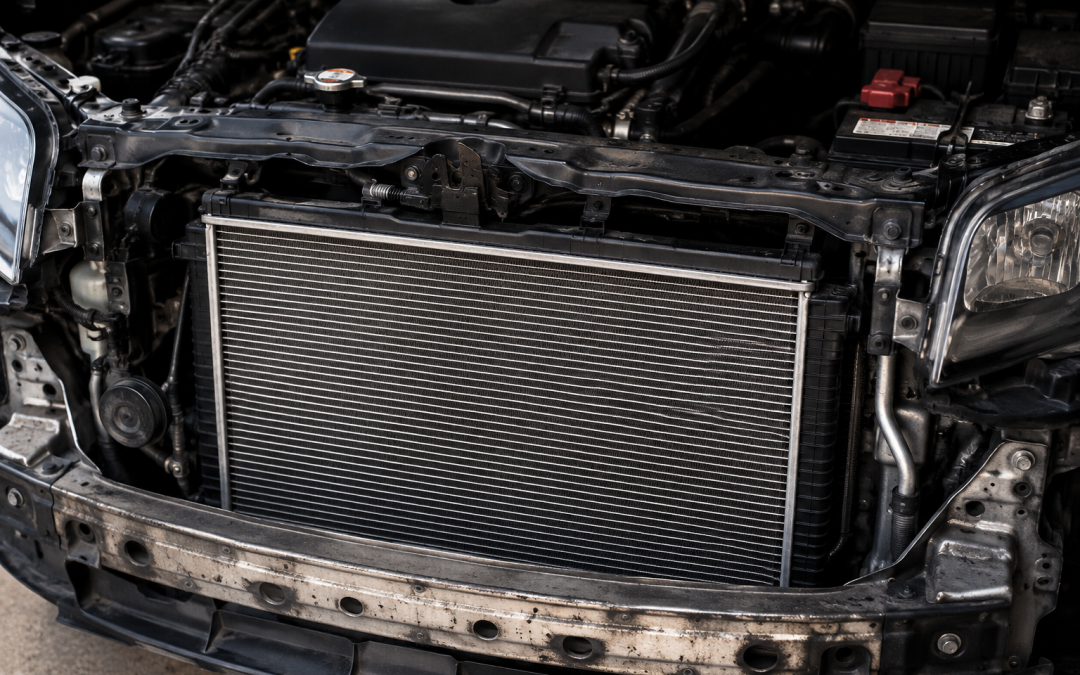
Are DIY Radiator Repairs Actually Saving You Money or Just Trouble?
The Real Costs of DIY Radiator Repair: Parts, Tools, and Your Time
Many business owners look at DIY radiator repair as a way to keep vehicle maintenance costs down. But the dollars you save on labor can quickly get eaten up by parts, tools, and time.
Let’s break it down. A replacement radiator for a common work van can cost $120–$300. Coolant, which you’ll need to flush and refill, adds another $20–$50. If you need hoses, clamps, or a new radiator cap, you’re looking at another $30–$70.
Then come the tools. If you don’t already have a decent socket set, screwdrivers, pliers, and drain pans, that’s another $50–$100. Many modern radiators require specialty tools—quick disconnect tools or torque wrenches. Renting or buying these adds to the bill.
Now, factor in your time. Removing a radiator in a newer vehicle can take three to five hours if you’re careful and follow each step. If your business depends on that vehicle, every hour it’s inoperable costs you productivity. Is the savings worth a half day (or more) off the road?
- Parts: $170–$420 (radiator, coolant, hoses, etc.)
- Tools: $50–$150 (if not already owned)
- Your time: 3–5 hours (plus possible lost business)
When you bring your vehicle to Sartorial Auto Repairs, the price you get covers all parts, tools, and labor—and you get your vehicle back faster, with less risk. Consider the true costs before tackling a DIY radiator repair.
For further reading, see How to Fix a Leaking Radiator from motorist.org.
Common Mistakes DIYers Make—and What They End Up Paying For
DIY radiator repair sounds simple—just swap the part and refill the coolant, right? In practice, it’s easy to make mistakes that cost more than a shop visit.
Overtightening or Under-tightening Hoses and Clamps
If clamps are too loose, coolant leaks out. If too tight, hoses can crack or the radiator’s plastic necks can break. Either mistake means another repair down the line.
Failing to Properly Bleed the Cooling System
Modern engines often trap air pockets. If you don’t get all the air out, your engine can overheat even though the radiator looks full. Overheating can lead to warped cylinder heads—a repair that can run thousands of dollars.
Mixing Wrong Coolants
Using the wrong type of coolant or mixing brands can cause sludge or even corrode the new radiator. This can shorten its lifespan significantly.
Skipping a Full System Inspection
Many DIYers replace the radiator but miss worn hoses, failing thermostat, or a water pump on its last legs. The result: another breakdown weeks later.
- One Santa Rosa business owner replaced their own radiator, skipped the thermostat, and ended up stranded again two weeks later. The second tow and repair cost double what a shop would have charged up front.
- Another customer brought us a truck after a DIY job left a persistent leak—turns out a tiny crack was missed during installation, and all their new coolant ended up on the ground.
Every mistake adds time, cost, and frustration. If you’re not confident in every step, the price of learning on the job can be steep.
What Professional Mechanics Fix That DIY Often Misses
Professional mechanics do more than swap out parts. At Sartorial Auto Repairs, we look at the whole cooling system to prevent future problems.
Pressure Testing the System
Shops use pressure testers to find small leaks in the radiator, hoses, or engine. DIYers often miss pinhole leaks that only appear when the system is hot and under pressure.
Inspecting Related Components
- Thermostat: Sticking thermostats can cause overheating, even with a new radiator.
- Water Pump: A failing pump won’t circulate coolant, leading to hidden issues.
- Radiator Cap: A worn cap can’t hold proper pressure and may cause overflow or boiling.
Flushing the Entire System
Professionals use machines to flush out old coolant, rust, and debris. Home repairs often skip this step or do a partial flush, leaving contaminants that can damage your new radiator.
Ensuring Proper Bleeding and Refill
Shops use vacuum-fill or bleed tools to remove all air. DIYers often rely on gravity, which can leave dangerous air pockets.
Warranty on Parts and Labor
When you have a shop do the work, you get a warranty. If something fails, you’re covered. DIY repairs usually void the parts warranty if installed incorrectly.
Every vehicle is different. Professionals spot small details—like a corroded connector or a swelling hose—before they become big problems. That’s peace of mind you don’t get from a YouTube video.
How DIY Radiator Repair Affects Your Cooling System—and Your Wallet
DIY radiator repair can have ripple effects on your entire cooling system. If done correctly, you might save a few hundred dollars. If not, you could be setting up for bigger expenses down the line.
- Improper Bleeding: Air pockets can cause erratic temperature readings, overheating, or heater failure. A $30 mistake can turn into a $3,000 engine repair.
- Wrong Coolant: Using the wrong type can corrode the radiator and water passages, reducing the lifespan of your engine and radiator.
- Skipped Inspections: If you don’t notice a failing water pump or a brittle hose, your system may fail again soon.
Let’s look at a real example. A local contractor changed his own radiator but didn’t notice the thermostat was sticking. The van overheated, leading to a blown head gasket. The initial savings turned into a $2,500 repair bill.
On the flip side, when you bring your vehicle to a shop like Sartorial Auto Repairs, you get a full cooling system check with every radiator service. Small problems are caught early, keeping your wallet safe from surprise breakdowns.
Think about the big picture—not just the price of parts, but the health of your whole vehicle and the true cost of downtime.
DIY Radiator Repair: When Is It Actually Worth It?
Sometimes, DIY radiator repair makes sense—especially for older vehicles with simple engines, or if you have mechanical experience and time to spare. If you’re running a fleet, though, or depend on your vehicle for business, the risks often outweigh the reward.
When DIY Makes Sense
- You have prior experience with cooling systems
- The vehicle is out of warranty and not mission-critical
- You have all necessary tools and access to quality parts
- You’re comfortable with mess, patience, and troubleshooting
When to Avoid DIY
- Your vehicle is under warranty (DIY may void it)
- You rely on the vehicle for daily business
- The radiator is hard to access (some modern vehicles require removing bumpers or front-end components)
- You’re unsure about bleeding or filling the system
Ask yourself: Is saving $200–$400 worth the risk of major engine damage or vehicle downtime? For many business owners in Santa Rosa, the answer is no.
The Hidden Risks: Safety and Warranty Concerns with Home Repairs
DIY radiator repair isn’t just about money—it’s about safety and the long-term value of your vehicle.
Hot Coolant Burns
Radiators operate under high pressure and temperature. Opening the cap when the engine is hot can cause scalding burns. Even experienced DIYers can get caught off guard.
Slips and Spills
- Antifreeze is toxic to pets and people. Spills can be hazardous, especially on your property.
- Improper disposal can result in fines or environmental harm.
Warranty Voided
Many parts and vehicle warranties require professional installation. If a DIY job goes wrong, you may be on the hook for repairs that would otherwise be covered.
Insurance Issues
If an improperly repaired radiator causes an accident or fire, insurance may deny your claim due to non-professional repair.
Safety and legal risks rarely show up in the initial cost calculation. Always weigh these hidden dangers before grabbing your wrench.
DIY Radiator Repair vs. Professional Service: A Side-by-Side Cost Comparison
Here’s how the numbers stack up for a typical radiator replacement on a work van in Santa Rosa:
| Expense | DIY Radiator Repair | Professional Service |
|---|---|---|
| Radiator | $150–$300 | Included |
| Coolant | $20–$50 | Included |
| Hoses/Clamps | $30–$70 | Included (if needed) |
| Tools | $50–$150 (if needed) | Included |
| Labor | Free (your own time) | $250–$400 |
| Warranty | Parts only (may be voided by DIY) | Parts and labor |
| Risk of Mistakes | High (potential extra costs) | Low |
| Total | $250–$570 (plus time/risk) | $400–$700 (all included) |
While DIY can save money upfront, one mistake or missed detail can erase those savings in a hurry. Professional service covers everything, including peace of mind.
What To Ask Yourself Before Attempting DIY Radiator Repair
- Do I have the right tools and replacement parts for my specific vehicle?
- Am I confident I can properly bleed the cooling system?
- Do I understand the risks of burns, spills, and environmental hazards?
- Is my vehicle under warranty, and will DIY repair void it?
- Can I afford the downtime if the repair takes longer than planned?
- What’s the cost if I make a mistake (engine damage, repeat repairs)?
- Would professional service add value, protection, or longer-lasting results?
Be honest with yourself. Sometimes, knowing when not to DIY is the best decision you can make for your business.
If DIY Goes Wrong: What To Do Next (And What It Might Cost)
If your radiator repair doesn’t go as planned, don’t panic. Here’s how to handle it:
- Stop Running the Engine: If you notice leaks, steam, or temperature spikes, shut down immediately to prevent further damage.
- Document What You Did: Take notes or photos of your steps. This helps mechanics trace the problem faster.
- Call a Professional: Reach out to a local shop like Sartorial Auto Repairs. Explain what happened and what you’ve tried.
- Expect a Diagnostic Fee: Most shops charge $100–$150 to inspect and diagnose post-DIY failures. If repairs are more complex (blown head gasket, contaminated coolant), costs rise quickly.
- Factor in Additional Parts or Towing: If the vehicle can’t move, towing in Santa Rosa can run $80–$150. If previous work caused damage, you may need new hoses, sensors, or even a replacement radiator.
The cost of fixing a DIY mistake can easily exceed what you would have paid for professional service from the start. If you’re unsure about any step, consider consulting a pro first—it might save time, money, and headaches for your business.
Need help or a second opinion? Call Sartorial Auto Repairs at 707-526-2625. Our team helps business owners in Santa Rosa keep their vehicles reliable—so you can focus on what matters most.
Frequently Asked Questions
Is it cheaper to fix a radiator yourself or take it to a shop?
DIY radiator repair can seem cheaper at first, but the costs of parts, tools, and your time often add up quickly. For many, taking your vehicle to a professional shop like Sartorial Auto Repairs in Santa Rosa may actually save money and prevent costly mistakes.
What tools do I need for a DIY radiator replacement?
You’ll need a socket set, screwdrivers, pliers, and a drain pan at minimum. Depending on your vehicle, specialty tools like quick disconnect tools or a torque wrench may also be required—make sure to check your vehicle’s repair manual before starting.
How long does it take to replace a radiator yourself?
A typical DIY radiator replacement can take three to five hours, especially if you’re new to auto repair. Be sure to factor in extra time for unexpected issues or trips to the parts store.
What are common mistakes people make when fixing their own radiator?
Common mistakes include not properly bleeding air from the cooling system, failing to securely tighten hoses or clamps, and using the wrong coolant type. These errors can lead to leaks, overheating, or even engine damage.
Can I call Sartorial Auto Repairs for advice on radiator repairs?
Absolutely! If you’re unsure whether to tackle the repair yourself or want a quote, call Sartorial Auto Repairs at 707-526-2625. Their team can help you weigh your options and avoid expensive DIY pitfalls.
